The Truth About Gel Nail Removal
The worst part of a gel manicure is arguably the removal process. You know the drill: harsh filing, followed by 30 minutes of soaking your fingertips in pure acetone.
Acetone is a powerful solvent. While effective at dissolving cured gel, it also aggressively strips your nails, cuticles, and surrounding skin of all natural moisture and oils. This leads to the all-too-common side effects: dry, brittle, peeling, and weak nails.
But what if you could remove your beautiful, long-lasting gel wraps in under 5 minutes, while actually nourishing your nails?
Section 1: Acetone vs. Nourishing Remover Oil: A Damage Comparison
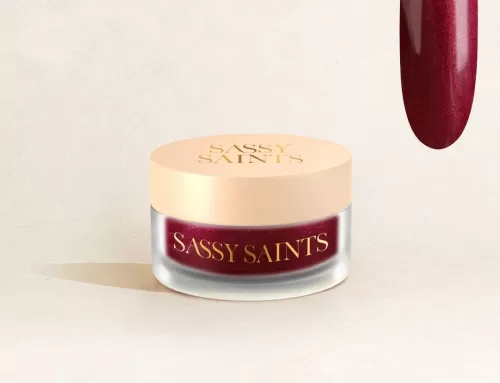
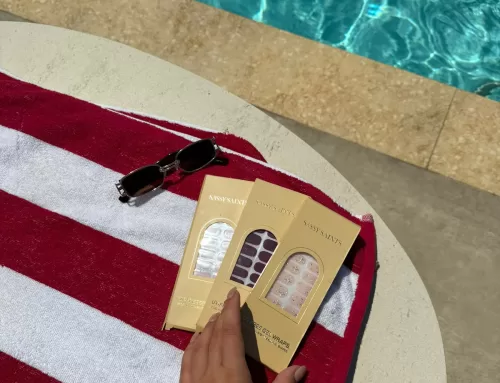
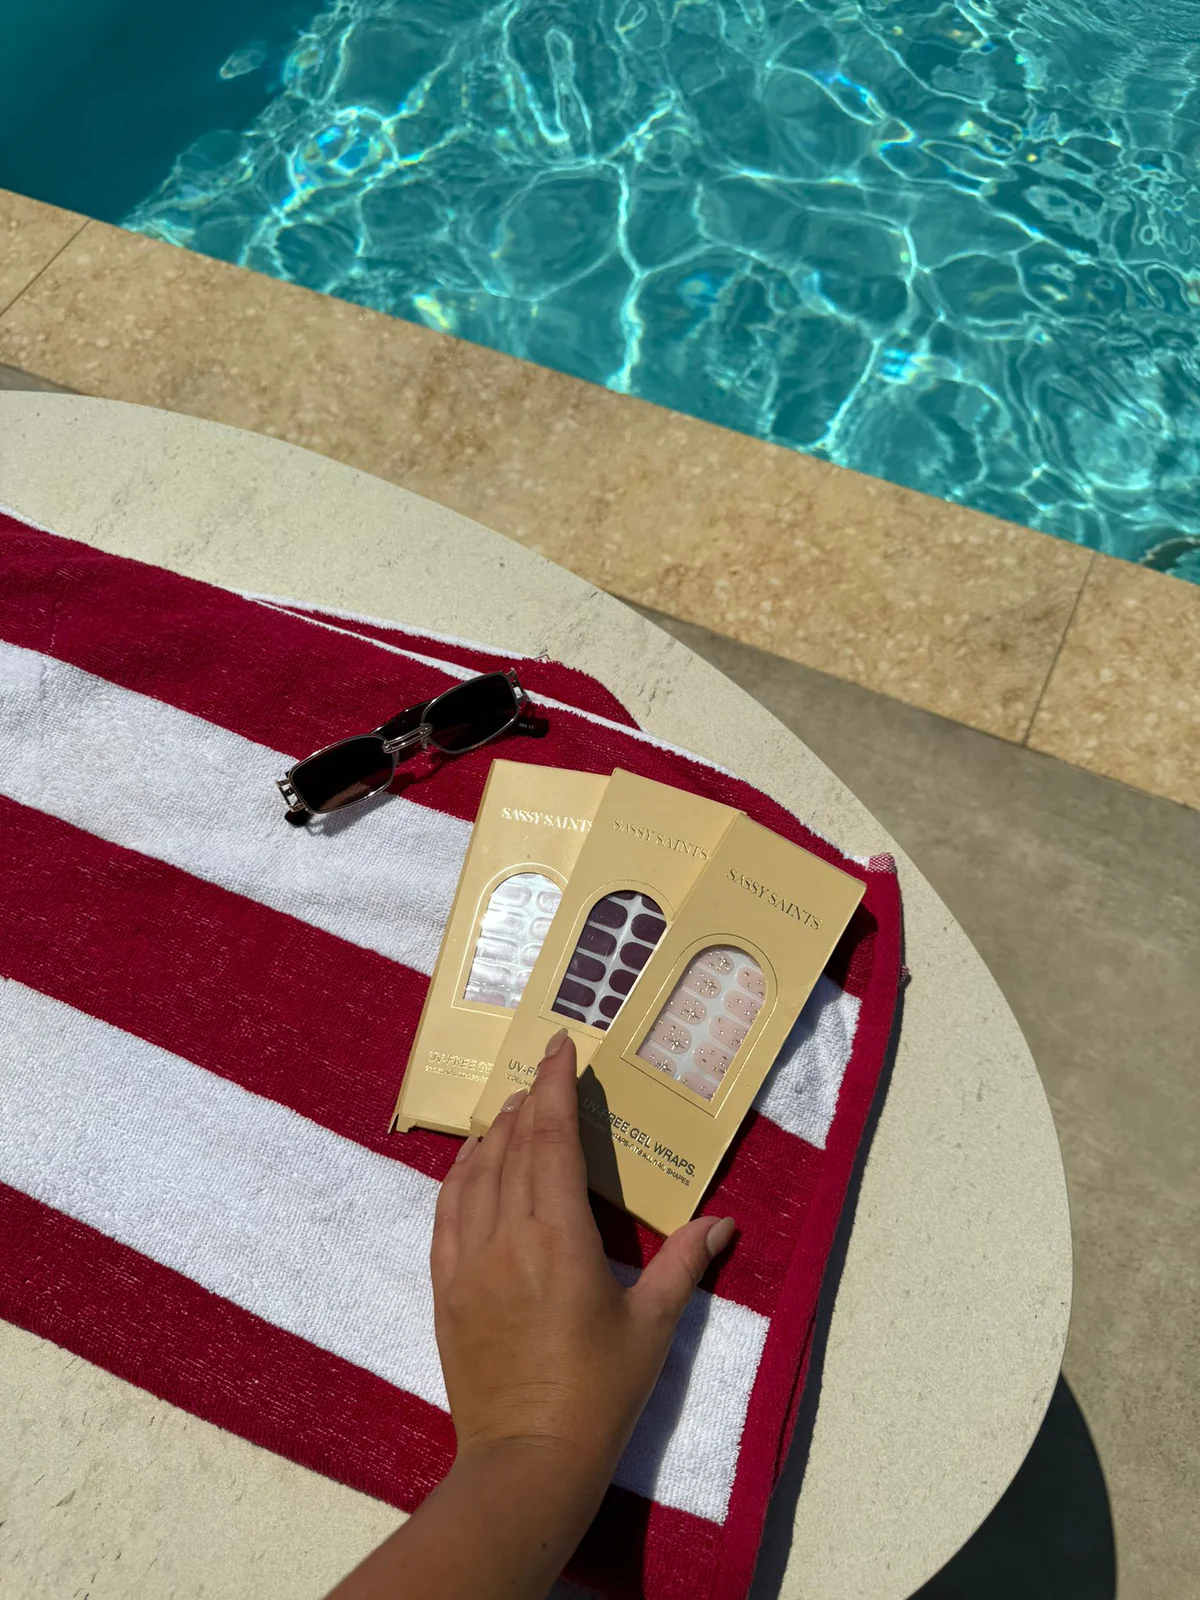
Traditional gels require acetone, which causes chemical trauma to the nail plate and skin. The Sassy Saints Gel Nail Wraps, however, are designed to be gently lifted and removed with their Nourishing Vitamin Remover Oil.
| Removal Method | Process Time | Impact on Nail Health | Aftermath |
| Acetone Soak | 30+ Minutes | Severe Drying & Weakening | Brittle, white-splotched nails |
| Nourishing Oil | 5 Minutes | Moisturizing & Strengthening | Healthy, hydrated nail beds |
Section 2: The Nourishing Ingredients That Repair, Not Ruin
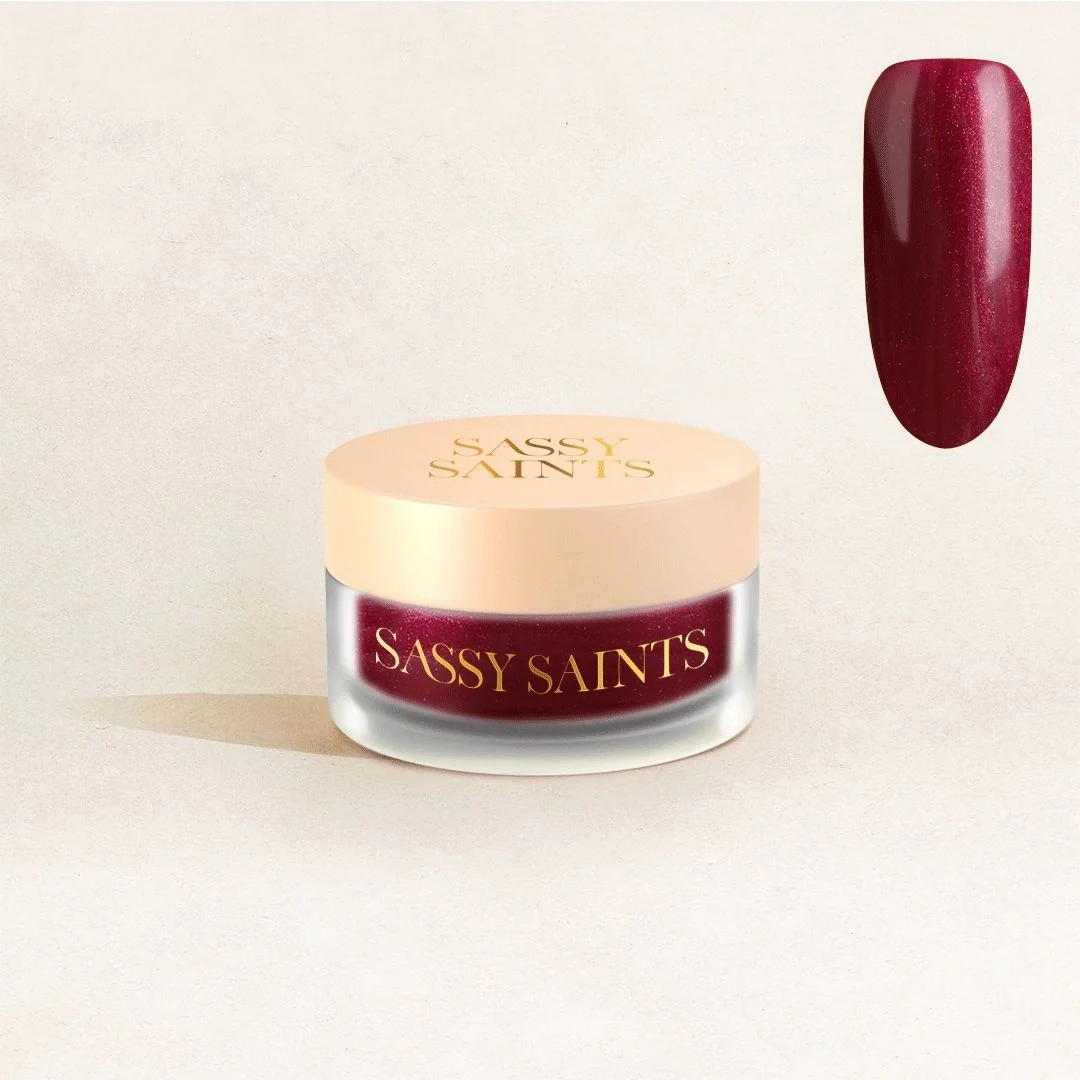
The Sassy Saints Remover Oil isn’t just an oil; it’s a powerful blend of vitamins and natural extracts designed to reverse the damage caused by years of acetone use. It saturates the adhesive beneath the gel wrap, allowing it to peel off effortlessly.
Key Ingredients Working Hard for Your Nails:
- Apricot Kernel Oil: Deeply moisturizes the nail plate and promotes natural strength.
- Jojoba Oil: Mimics the skin’s natural oils, deeply hydrating and enhancing flexibility to prevent breakage.
- Sweet Almond Oil: Softens cuticles, encourages growth, and repairs damaged surfaces.
- Olive Oil: Rich in Vitamin E, it improves overall nail health and prevents dryness.
- Coconut Oil & Shea Butter: Locks in moisture and strengthens the nail bed.
Section 3: The Gentle 5-Minute Removal Tutorial
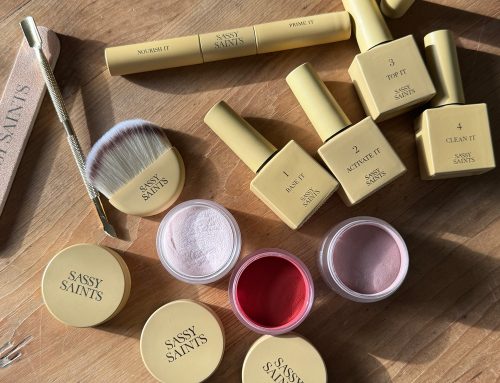
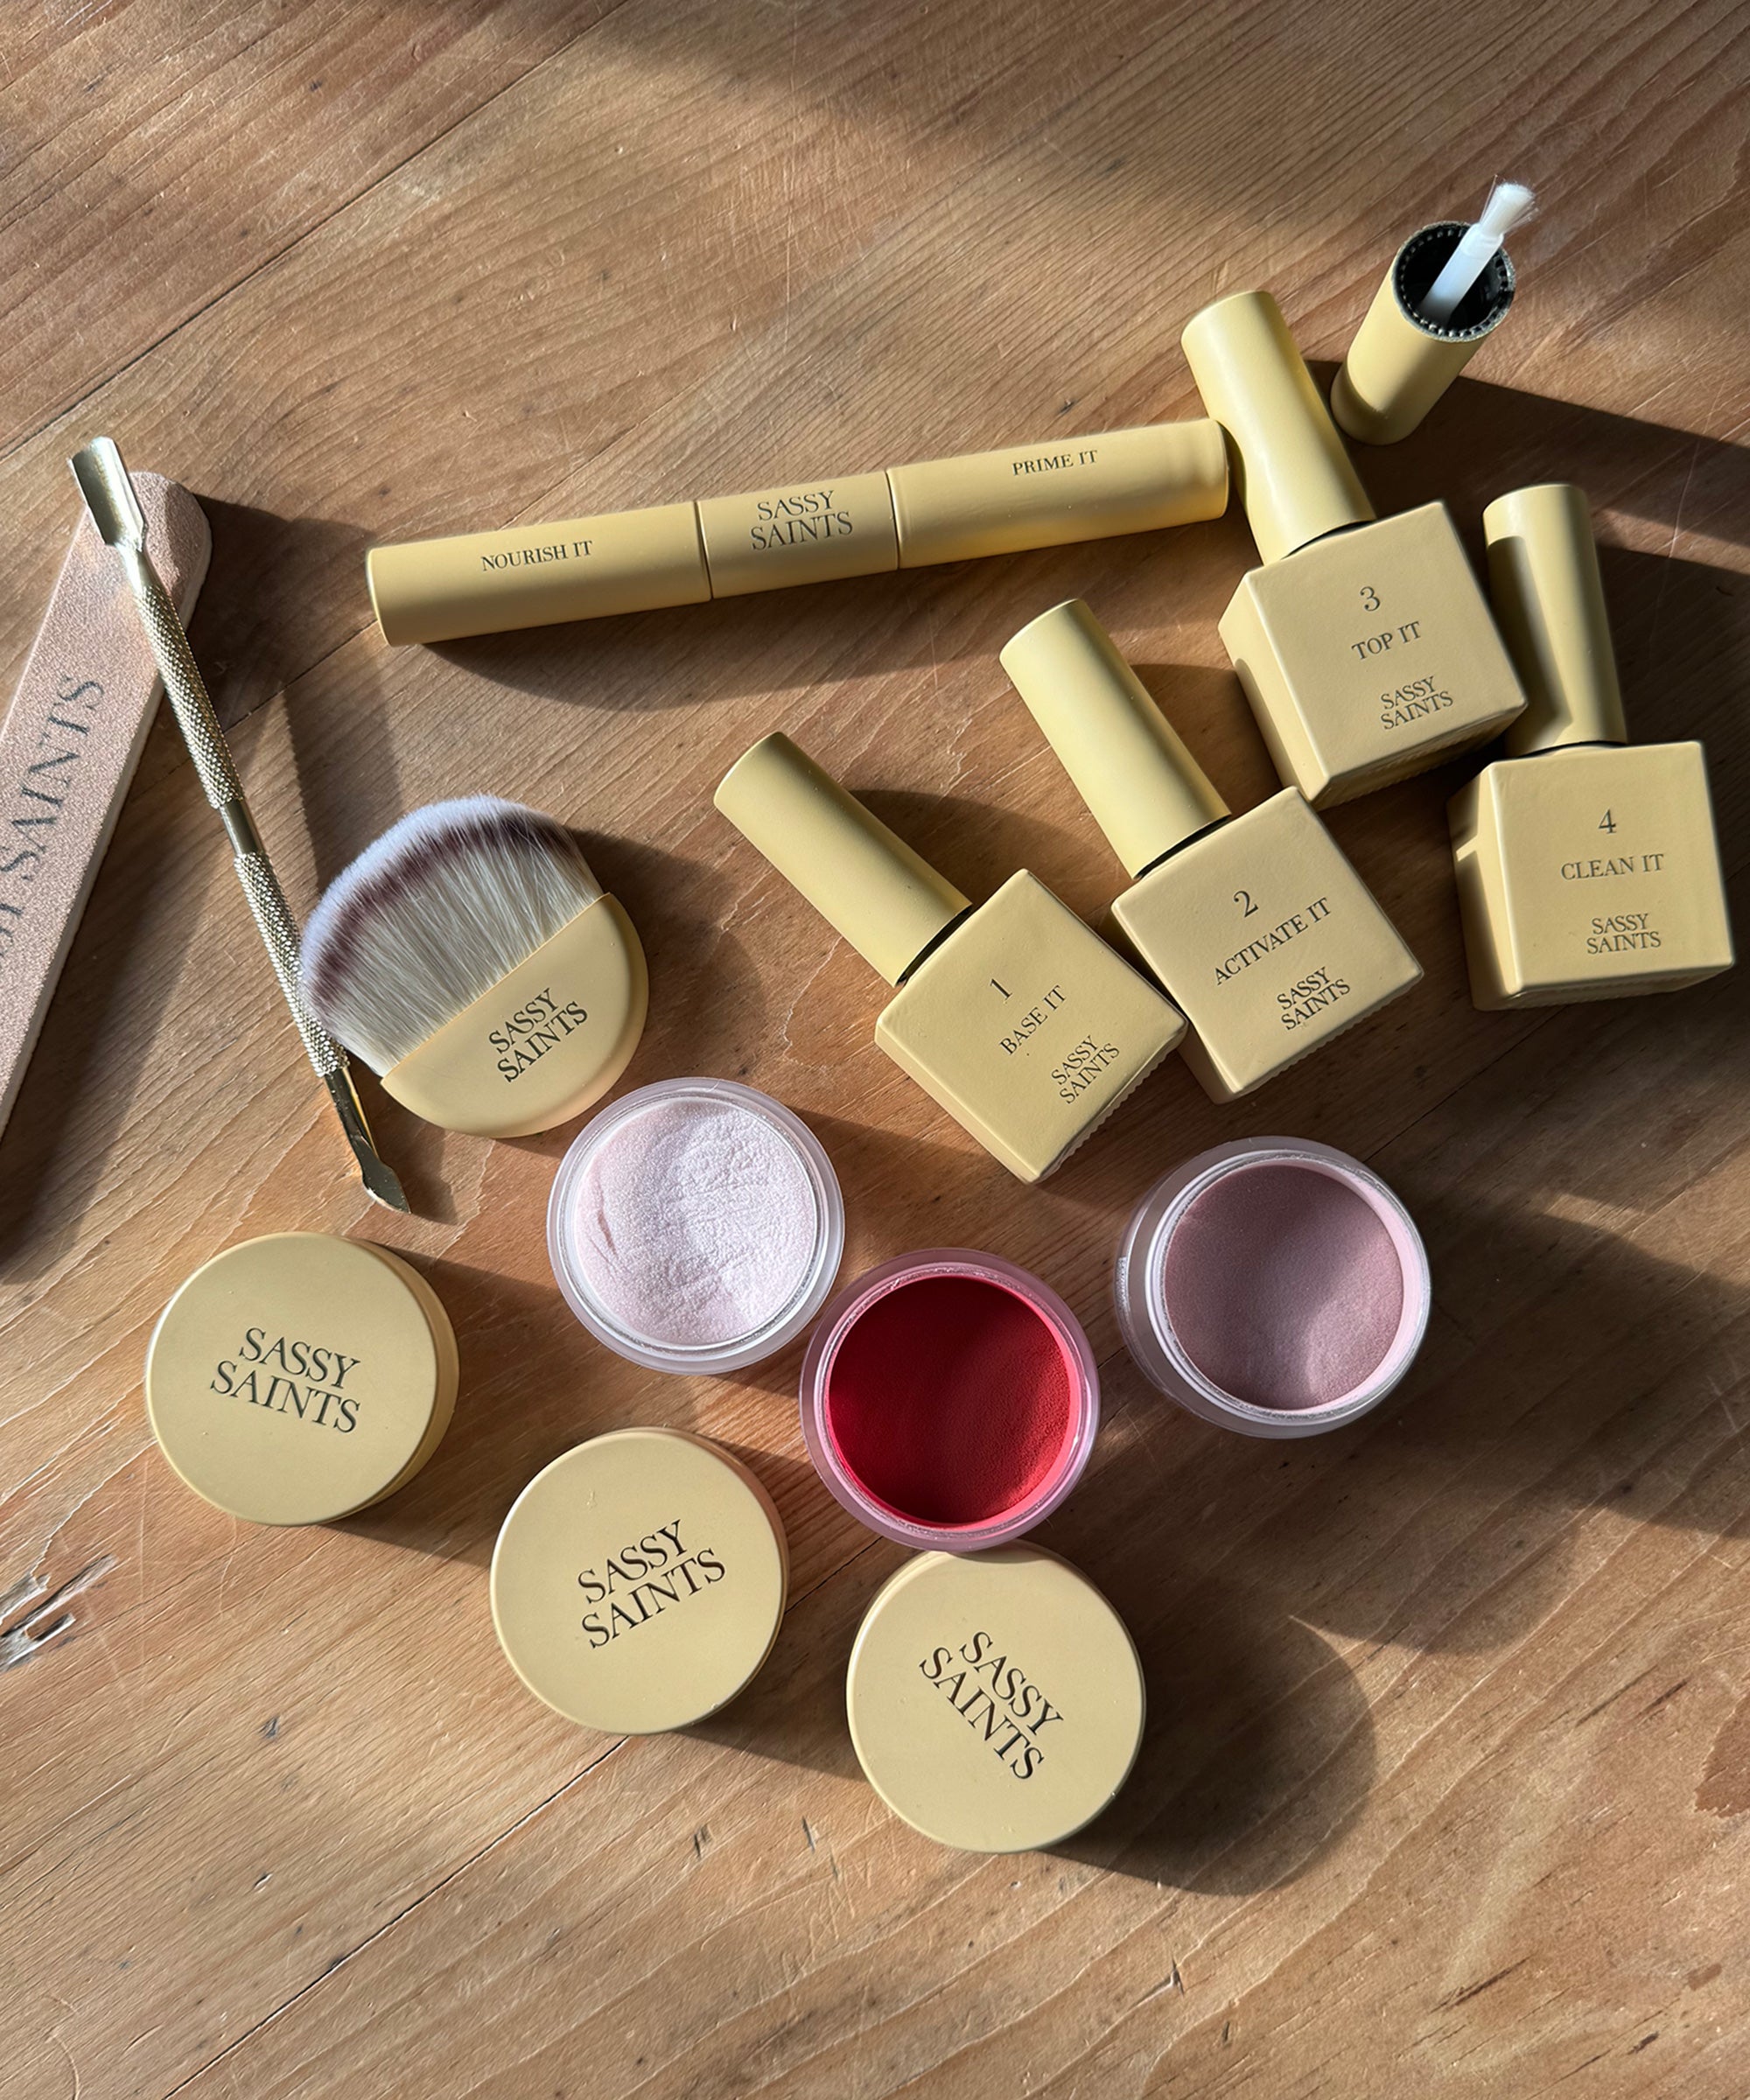
You only need two things: your Sassy Saints Nourishing Vitamin Remover Oil [Affiliate Link] and a cuticle pusher.
- Break the Seal: Use a wooden cuticle stick or the curved edge of your nail to gently lift the edge of the gel wrap near your cuticle or side wall.
- Drench and Wait (30 seconds): Apply 2–3 drops of the Nourishing Vitamin Remover Oil directly into that small gap you’ve created between the wrap and your natural nail. Let the oil wick underneath and break down the adhesive.
- Gently Lift: Starting from the edge, use the wooden cuticle stick to gently push the wrap away from your nail bed. It should glide off without any pulling or scraping. If you feel resistance, apply more oil and wait another 30 seconds.
- Polish and Condition: Wipe off the excess oil and buff your nail. Use the remaining oil to massage your cuticles and nail beds.
That’s it! 5 minutes for a clean, nourished nail plate ready for your next manicure.
Conclusion: Love the Mani, Love the Removal
A great manicure should never come at the expense of your nail health. Sassy Saints not only makes application safe and easy, but they’ve made the removal process a nourishing self-care ritual.
✨ Protect your nails from harsh acetone! Get your Sassy Saints Nourishing Vitamin Remover Oil and Gel Wraps today. Get now.